To successfully link your Lightwave Connect Series device to the Link Plus app, the device must first be placed into pairing (learning) mode. This allows it to be discovered during the setup process.
🔧 Device-Specific Pairing Instructions
Dimmers: press and hold top and bottom buttons together, the device will flash between amber & blue for multi-gang dimmers you will need to pair each gang individually
Installation Manual
Sockets: press and hold the button the device will flash between amber & blue for 2 gang (double) sockets, you will need to pair the other side after
Installation Manual
Relays: press and hold the button the device will flash Green for LW821 ,amber for LW825 & Amber/Blue for LW831/830
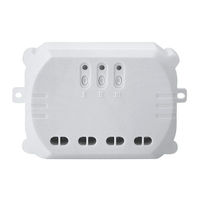
JSJSLW830 Installation Manual
Heating Devices: Press and hold the link button on the left hand side of the device, the LW921 Thermostat will display Link, the LW934 will flash between amber/green.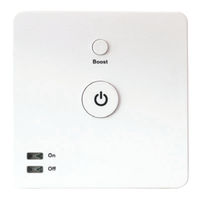
Trv's (LW922) please press and hold the link button until the device flashes between amber/green
📘 For Other Devices
For all other Connect Series devices, please refer to the product’s installation manual for specific pairing instructions.
🔄 Pairing Indicator: A blue and amber flashing LED confirms that the device is in pairing mode and ready to be linked.